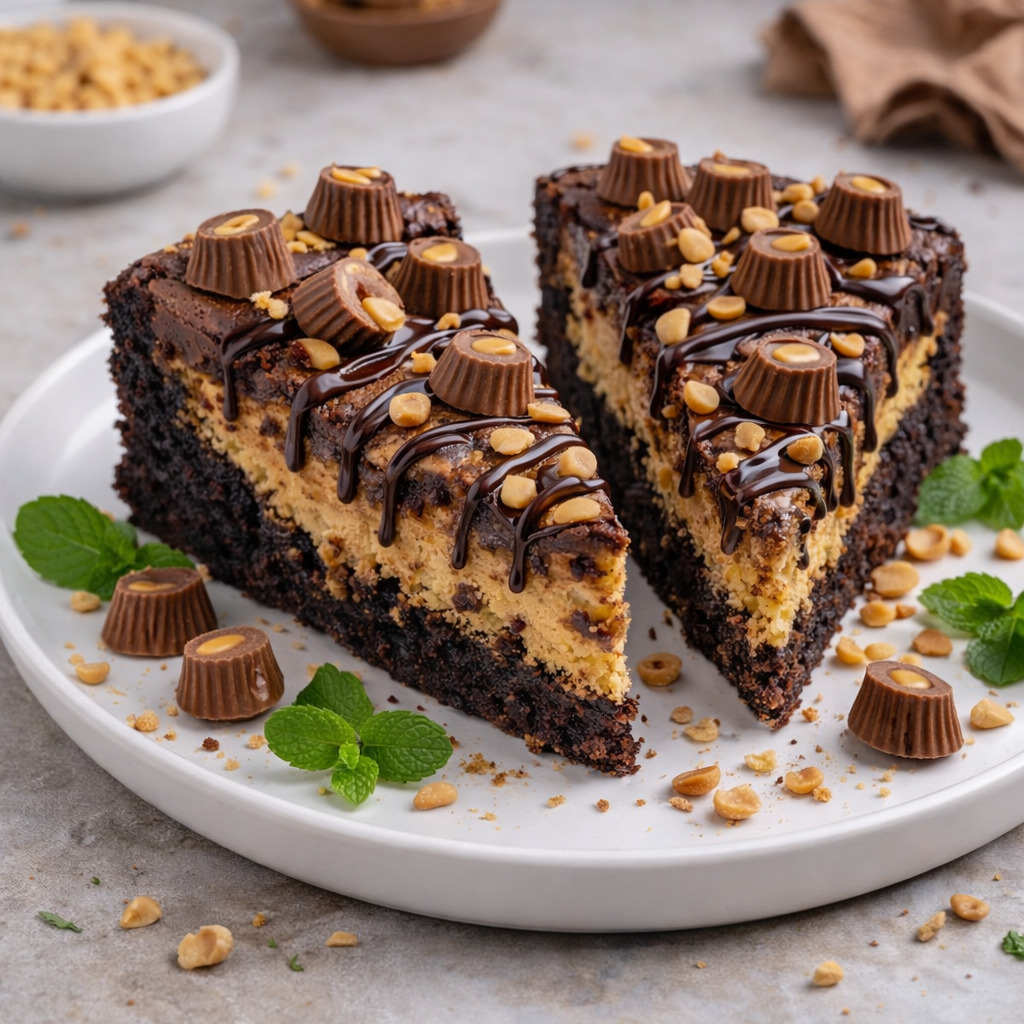
Rich Peanut Butter Cup Dump Cake
Peanut Butter Cup Dump Cake appeared in my kitchen one drizzly afternoon when the sky hung low over the fields behind our farmhouse. My husband had been stacking firewood near the shed while our two little dogs took turns inspecting every muddy pawprint along the porch. I was inside, tidying up the pantry shelves, when a half-used jar of peanut butter and a box of chocolate cake mix caught my attention at the same time.
Earlier that morning, our neighbor Daniel had stopped by with his daughter Lily after school. Lily had helped me bake cookies before, and she peeked over the counter again asking if we were making “something chocolate today.” I promised her we would try something new. That simple question turned into the idea for Peanut Butter Cup Dump Cake, a dessert that requires very little effort yet feels indulgent enough for sharing.
While the batter came together in one bowl, the kitchen slowly filled with the familiar scent of chocolate. The peanut butter layer spread across the bottom of the baking dish looked almost too simple to become anything special, yet once the cake baked, it transformed into a soft ribbon of fudgy peanut butter beneath the chocolate crumb. When the tray came out of the oven, warm pockets of melted peanut butter cups dotted the surface. My husband wandered inside just in time to sample the first slice while it was still warm.
Short Description
Peanut Butter Cup Dump Cake is a rich chocolate dessert layered with creamy peanut butter and topped with mini peanut butter cups and chocolate chips. The cake bakes into a soft, gooey treat with melty pockets of chocolate and peanut butter in every bite.
Key Ingredients
-
1 box chocolate cake mix
-
1 cup peanut butter
-
½ cup melted butter
-
1 ½ cups milk
-
1 cup mini peanut butter cups
-
½ cup chocolate chips
Tools Needed
-
Mixing bowl
-
Whisk
-
Rubber spatula
-
9×13 inch baking dish
-
Measuring cups
-
Oven
Cooking Instructions
Step 1: Preheat the Oven
Preheat the oven to 350°F (175°C). Lightly grease a 9×13 inch baking dish with butter or nonstick spray.
Step 2: Prepare the Peanut Butter Layer
Spread the peanut butter evenly across the bottom of the prepared baking dish using a butter knife or spatula. Try to cover the surface completely so every slice has a peanut butter base.
Step 3: Mix the Batter
In a large mixing bowl combine the chocolate cake mix, melted butter, and milk. Whisk until the batter becomes smooth with no dry pockets of mix. The batter should be thick but pourable, similar to pancake batter.
Step 4: Assemble the Cake
Pour the chocolate batter gently over the peanut butter layer. The batter will spread naturally across the dish.
Step 5: Add the Toppings
Sprinkle mini peanut butter cups and chocolate chips evenly across the surface. As the cake bakes, these pieces melt slightly and create pockets of rich chocolate flavor.
Step 6: Bake the Cake
Bake the cake for 35 to 40 minutes until the edges pull slightly away from the pan and a toothpick inserted in the center comes out with moist crumbs.
Step 7: Cool Before Serving
Allow the cake to cool for at least 15 minutes so the layers settle and slice cleanly.
Why You’ll Love This Recipe
Rich chocolate cake with creamy peanut butter flavor
Minimal preparation and only one mixing bowl
Gooey chocolate pockets throughout the cake
Perfect dessert for gatherings or casual weekends
Simple ingredients most home kitchens already have
Mistakes to Avoid & Solutions
Skipping the peanut butter layer
Without the base layer the cake loses its signature fudgy texture.
Solution: Spread the peanut butter evenly across the pan before adding batter.
Overmixing the batter
Too much mixing can create a dense cake texture.
Solution: Mix only until the ingredients combine smoothly.
Underbaking the cake
The center may remain too soft if removed too early.
Solution: Bake until a toothpick shows moist crumbs rather than wet batter.
Cutting the cake too soon
Warm cake can fall apart when sliced.
Solution: Let it cool at least 15 minutes before serving.
Serving and Pairing Suggestions
Serve warm with a scoop of vanilla ice cream
Drizzle with chocolate sauce for extra richness
Cut into small squares for dessert platters
Pair with hot coffee or a glass of cold milk
Add whipped cream for a lighter contrast
Storage and Reheating Tips
Store the cake covered in the refrigerator for up to 4 days
Reheat individual slices in the microwave for 15 seconds
Warm larger portions in the oven at 325°F for about 10 minutes
Keep the cake tightly covered to maintain moisture
FAQs
1. Can I use crunchy peanut butter instead of creamy?
Yes. Crunchy peanut butter adds a little texture to the base layer.
2. Can I make this cake ahead of time?
Yes. Bake it earlier in the day and warm slices slightly before serving.
3. Can I add extra toppings?
Yes. Chopped peanuts, caramel drizzle, or whipped cream all work nicely.
4. Can I use a different cake mix flavor?
Chocolate works best, but fudge or dark chocolate cake mixes are great options.
5. Can I freeze this cake?
Yes. Wrap slices tightly and freeze for up to two months.
Tips & Tricks
Use room temperature peanut butter so it spreads easily
Add a handful of chopped peanuts for extra crunch
Line the baking dish with parchment for easier serving
Slightly warm slices before serving for the best texture
Recipe Variations
Salted Peanut Butter Cup Cake
Sprinkle a small pinch of flaky sea salt over the top before baking.
Caramel Peanut Butter Version
Drizzle caramel sauce over the batter before adding the toppings.
Nutty Chocolate Cake
Add ½ cup chopped roasted peanuts with the chocolate chips.
Double Chocolate Version
Use dark chocolate cake mix and dark chocolate chips.
Peanut Butter Swirl Cake
Stir a few extra spoonfuls of peanut butter into the batter before baking.
Final Thoughts
Simple desserts often become the most memorable ones in our home. This cake began as a small kitchen idea on a rainy afternoon and quickly turned into something everyone wanted another slice of. The chocolate layers and creamy peanut butter filling create a comforting dessert that feels generous and satisfying.
Later that evening, the remaining slices disappeared while we sat around the kitchen table with coffee and stories from the day. Even our dogs waited patiently beside the chairs hoping a crumb might fall. Moments like that make a quiet country kitchen feel full of warmth and laughter.