This Christmas, We’re Building A Gingerbread House Together

Every year, when December begins creeping closer, our house slowly shifts into Christmas mode.
The knit stockings come out of storage. Liam and I begin quietly ordering the gifts the kids have been hinting about for weeks.
We still follow the tradition of placing smaller surprises inside their stockings and arranging the wrapped gifts under the tree after they fall asleep on Christmas Eve.
That tradition will not change. But this year, I wanted something that was not just opened and finished in one morning.
I wanted something that would sit in our living room for weeks and remind us that we created it together.
Instead of baking a traditional gingerbread house, we built one from cardboard. And honestly, I think I love it more.
Gathering the Materials
Yesterday after school, I cleared the dining table at 3:15 p.m. and laid out everything we needed.
I had already visited Michaels in Clark earlier that week to buy sturdy craft supplies, because I knew thin cardboard would bend too easily.
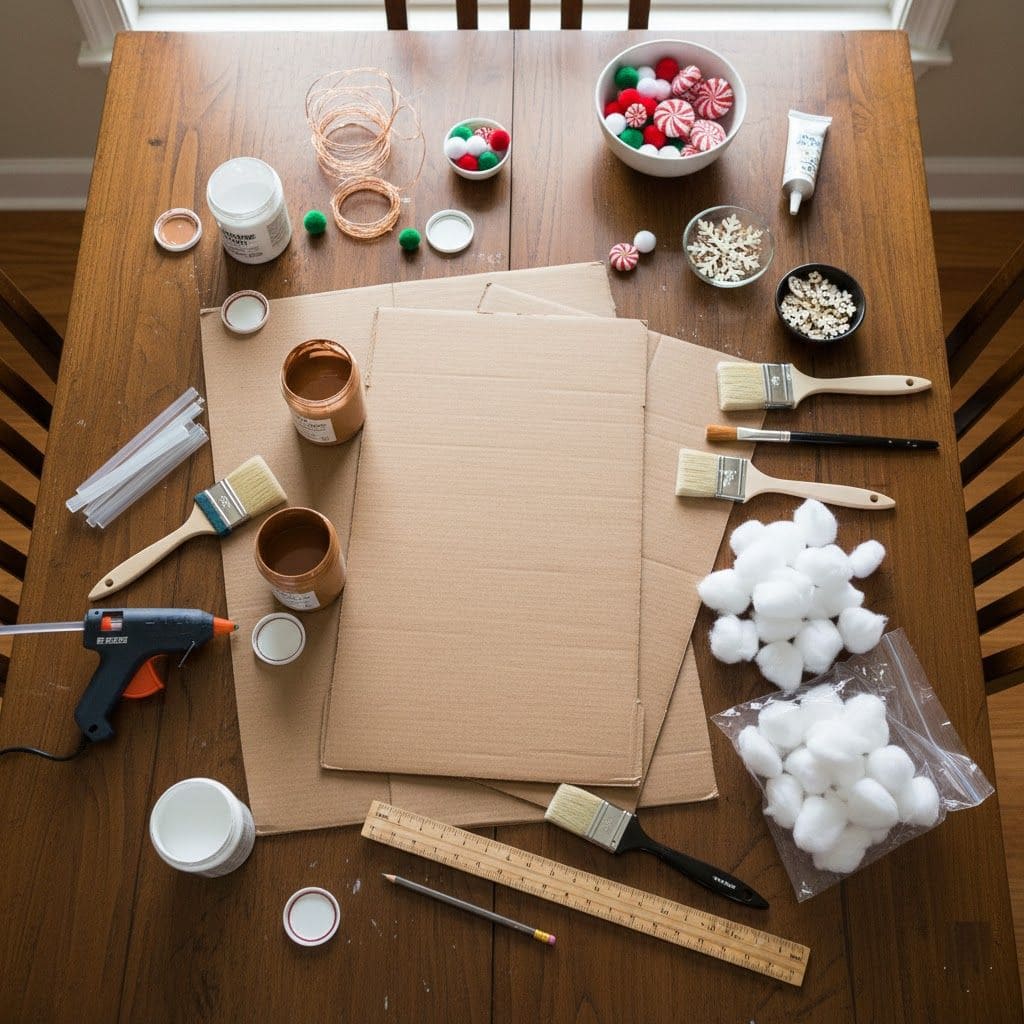
Here is exactly what we used:
- Two large corrugated cardboard sheets (24 x 36 inches)
- White acrylic paint (matte finish)
- Brown acrylic paint (to mimic gingerbread color)
- Foam brushes and two medium paintbrushes
- Hot glue gun with extra glue sticks
- Craft knife (used only by me and Liam)
- Ruler and pencil
- Cotton balls (for snow effect)
- Mini LED fairy lights (battery operated)
- Assorted craft decorations: pom-poms, faux peppermints, small wooden snowflakes
- White puff paint (for icing details)
Before the kids started, Liam and I measured the structure.

We cut:
- Two side walls: 12 inches tall by 10 inches wide
- Front and back walls: 12 inches tall by 8 inches wide
- Two roof panels: 14 inches by 10 inches
- A base panel: 18 inches by 18 inches
I sketched a simple door arch on the front wall and cut it out carefully using the craft knife. We also cut two square windows, about 2.5 inches each, so the fairy lights would glow through at night.
Assigning Roles to Each Child
Once the structure pieces were ready, I called the kids over and explained the plan. I wanted everyone to feel responsible for something specific so that no one felt left out.
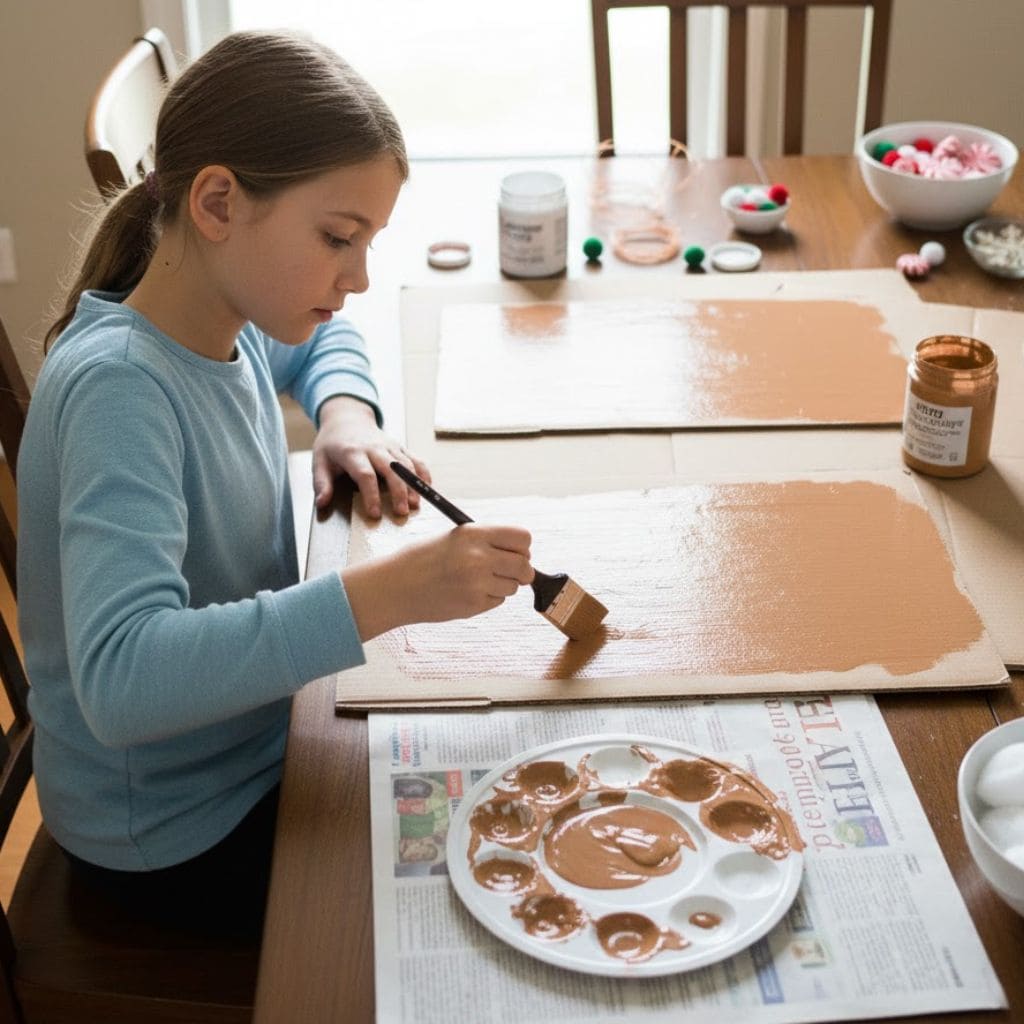
Emma was in charge of painting the gingerbread walls. She mixed brown acrylic paint with a small drop of white to soften the tone so it looked warmer rather than dark chocolate.
Using a flat brush, she painted each wall panel evenly, covering the corrugated texture carefully.
It took her about twenty minutes to complete two coats, allowing a short drying period between them.
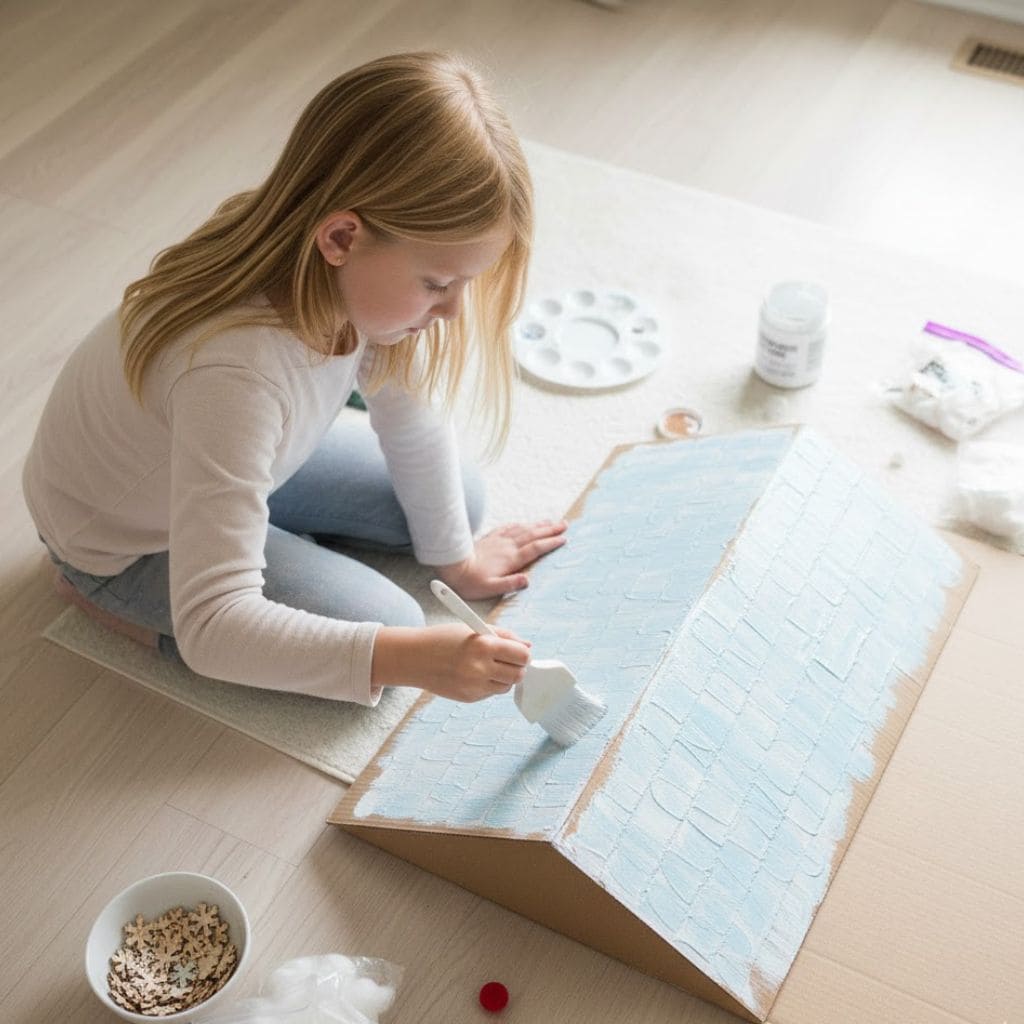
Claire handled the roof. Instead of leaving it plain brown, she suggested painting it white first to look like snow-covered shingles.
She used a foam brush to apply the white paint, creating a slightly textured finish so it did not look flat.
When the first coat dried, she added soft streaks of light blue mixed with white to create dimension, which surprised me because I had not even suggested it.
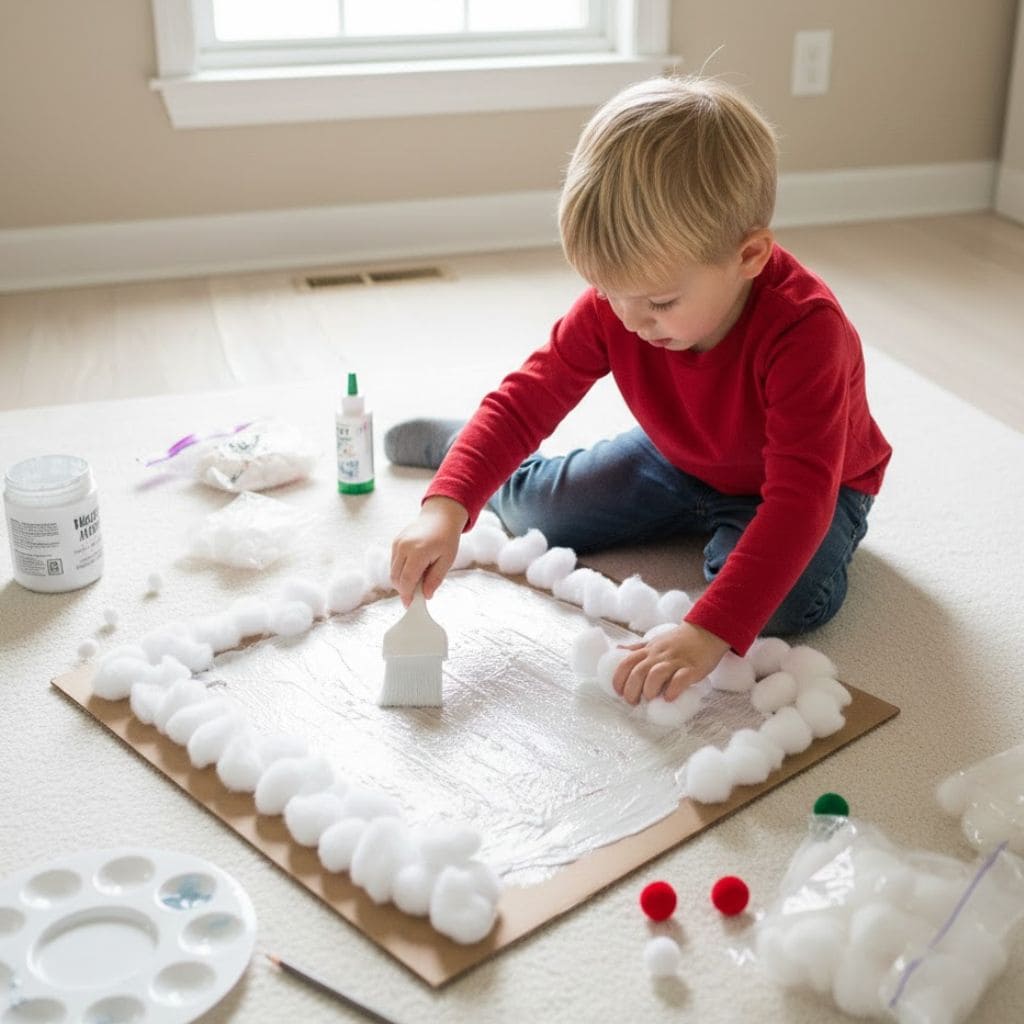
Jack’s job was decorating the base. I gave him white paint and cotton balls.
He brushed glue across sections of the base panel and pressed cotton down to look like snowbanks.
He was incredibly focused, patting the cotton flat with both hands and occasionally asking, “Does this look like real snow, Mom?”
Assembling the Structure
Once all the painted pieces dried, which took about 40 minutes total with two coats, Liam and I began assembling the house.
We ran hot glue along the edges of the side walls and pressed them carefully against the front and back panels.
I held each seam firmly for about 30 seconds while the glue cooled and hardened. For extra support, we glued small cardboard strips inside each corner seam like internal braces.
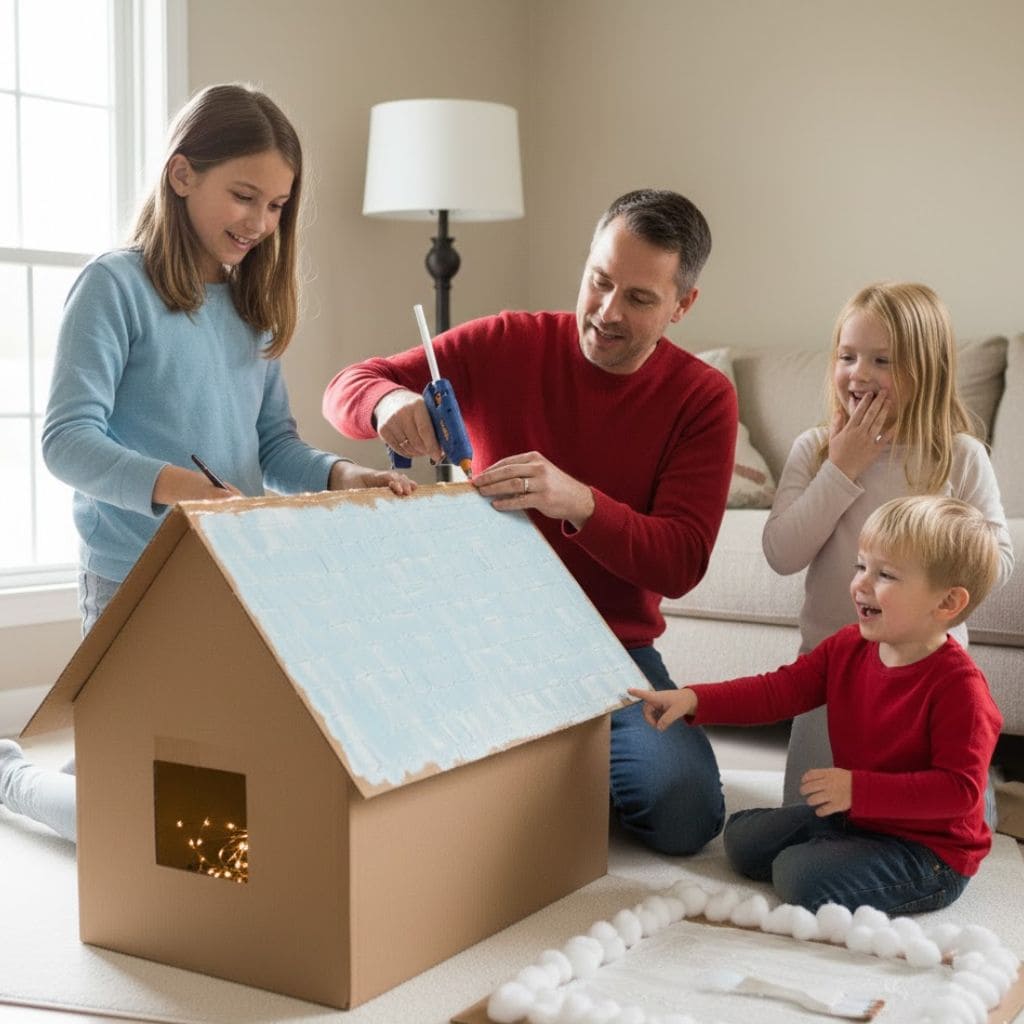
When we attached the roof panels, Emma held one side steady while Liam applied glue along the top edges.
The first attempt shifted slightly, so we adjusted it before the glue fully set. That moment of almost slipping made everyone gasp and then laugh.
Before sealing the back panel completely, we tucked the battery-operated fairy lights inside. We taped the battery pack discreetly near the back so we could switch it on easily each evening.
When we turned the lights on for the first time and saw the warm glow through the window cutouts, the kids cheered.
Decorating Like Real Gingerbread
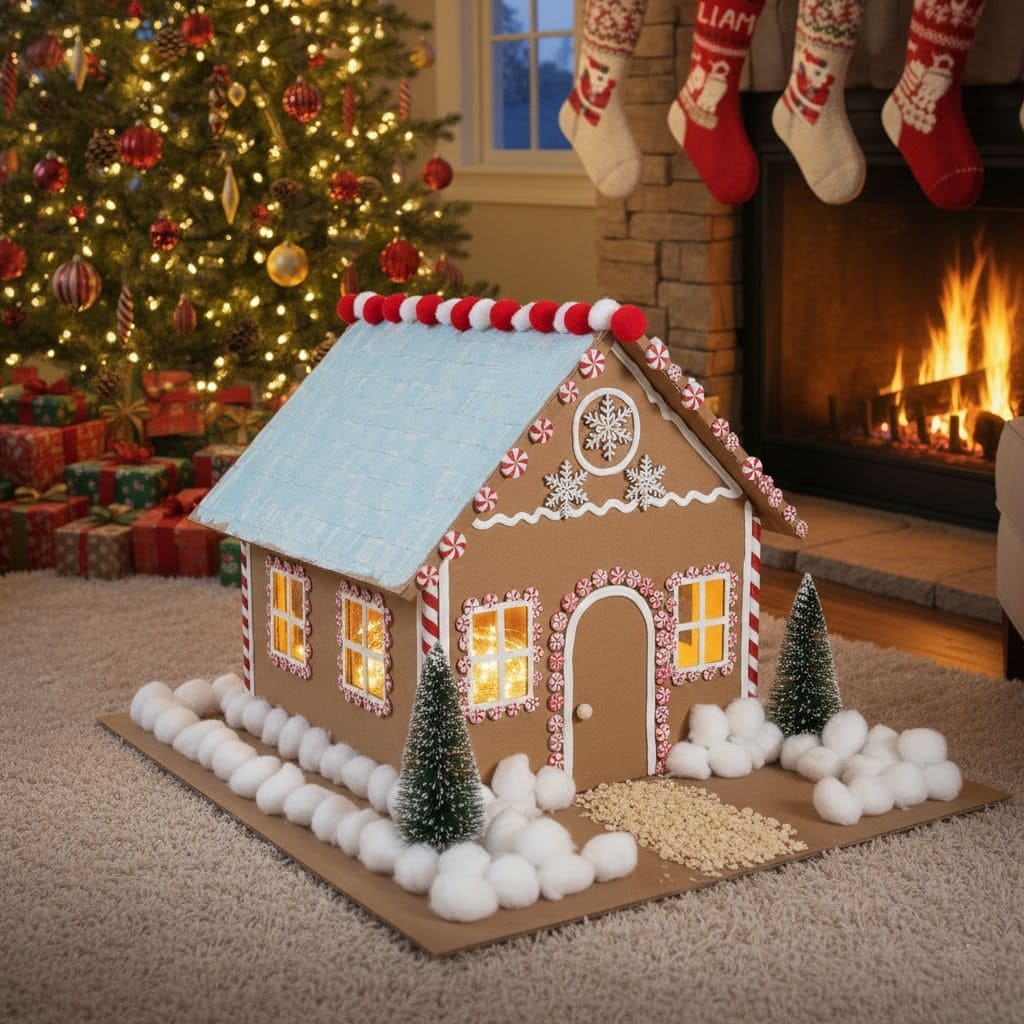
Emma used white puff paint to draw scalloped icing along the roofline. She piped small dots around the windows and outlined the door with careful hands.
Claire glued faux peppermint swirls and red pom-poms along the edges of the roof, creating the illusion of candy trim. She arranged small wooden snowflakes above the doorway like a crest.
Jack insisted on placing extra cotton snow along one side of the house because storms never fall evenly. His logic was surprisingly thoughtful.
I added a small walkway leading to the door using crushed paper painted beige to resemble cookie crumbs. Liam glued two tiny wooden trees beside the house and dusted them lightly with white paint.
The entire decorating process lasted nearly two hours, from 3:30 p.m. until almost 5:30 p.m., and not once did I hear anyone ask for a screen.
This Felt Different
When we finished, the house was not perfectly symmetrical. One side of the roof angles slightly lower than the other. Some of Jack’s cotton snow spills over the base edge. But it feels alive.
It now sits on the console table in our living room, glowing softly each evening when we switch on the fairy lights. The cardboard may be simple, but the effort behind it fills the room.
This year, our Christmas tradition expanded beyond gifts in stockings. It now includes building something by hand, assigning responsibility, negotiating design decisions, and laughing when glue strings stick to fingers.
Next week, we plan to buy flour, butter, brown sugar, and cinnamon to bake cookies together, but that will be another story.
For now, our cardboard gingerbread house stands proudly in the living room, not edible, but sturdy enough to hold the memory of this December afternoon.